
In today's fast-paced world, staying organized is not just a preference, it's a necessity. From managing important documents at the office to keeping track of school projects or household finances, a clear and efficient system can make all the difference. This is where a Binder Label Template proves to be an indispensable tool. It provides a structured, visually appealing, and highly effective way to categorize, identify, and retrieve information stored in binders, transforming cluttered stacks of paper into an easily navigable archive.
The sheer volume of paperwork generated in daily life can quickly lead to disarray if not properly managed. Without clear labels, searching for a specific document can become a frustrating and time-consuming scavenger hunt. Imagine sifting through multiple unlabeled binders, each potentially containing hundreds of sheets, just to find one critical invoice or research paper. Such scenarios underscore the profound need for systematic organization.
Utilizing a template for your binder labels goes beyond merely sticking a piece of paper on a binder. It introduces consistency, professionalism, and a streamlined approach to information management. These templates can be customized to suit a myriad of organizational needs, offering flexibility whether you're dealing with client files, academic notes, personal records, or creative projects. They ensure uniformity across your filing system, making it intuitive for anyone to understand and use.

The beauty of a well-designed binder label template lies in its ability to simplify complex organizational tasks. It empowers individuals and businesses alike to create custom, professional-looking labels quickly and efficiently, eliminating the guesswork and saving valuable time. This article will delve into the various types of templates available, how to effectively use them, and best practices for leveraging them to achieve peak organizational efficiency.
The Indispensable Role of Binder Label Templates in Organization
Binder label templates are more than just a convenience; they are a cornerstone of effective organizational systems. Their utility spans across various environments, from corporate offices and educational institutions to home offices and personal craft rooms. The primary benefit they offer is the ability to create labels that are not only informative but also consistent and aesthetically pleasing, which significantly enhances the overall user experience of your filing system.

One of the most compelling advantages is the time-saving potential. Instead of handwriting labels, which can be inconsistent in size, legibility, and format, a template allows for quick generation of standardized labels. This is particularly beneficial when setting up a new filing system or overhauling an existing one, where dozens or even hundreds of labels might be required. The uniformity ensures that all binders look professional and integrate seamlessly into your workspace or home environment.

Furthermore, enhanced information retrieval is a direct outcome of using clear and logical labels. When every binder has a distinct, easy-to-read label indicating its contents, finding a specific document becomes a matter of moments rather than minutes. This drastically reduces frustration and improves productivity, as less time is spent searching for information and more time can be dedicated to productive tasks. For shared environments, such as an office, consistent labeling ensures that anyone can locate documents without needing specific instructions or internal knowledge of the filing system.

Exploring Different Types of Binder Label Templates
The world of binder labels is diverse, with templates designed to fit various binder sizes, label formats, and functional needs. Understanding the different types available is the first step towards choosing the perfect solution for your specific organizational challenges. Each type serves a distinct purpose, contributing to a comprehensive labeling strategy.
Spine Label Templates
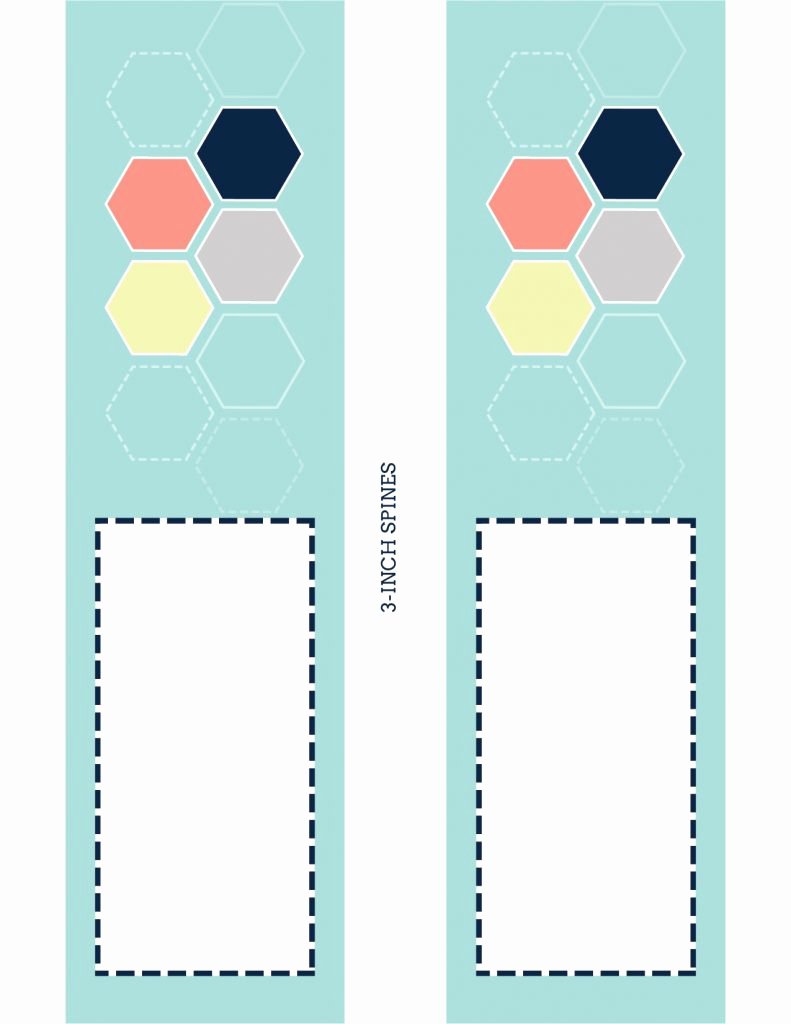
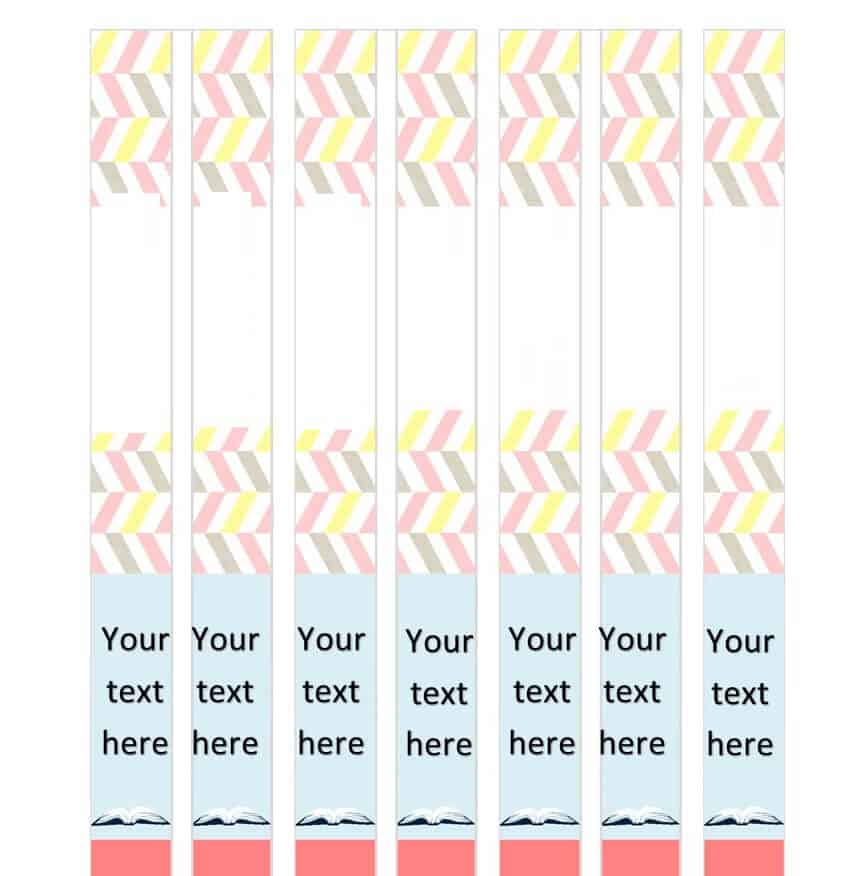
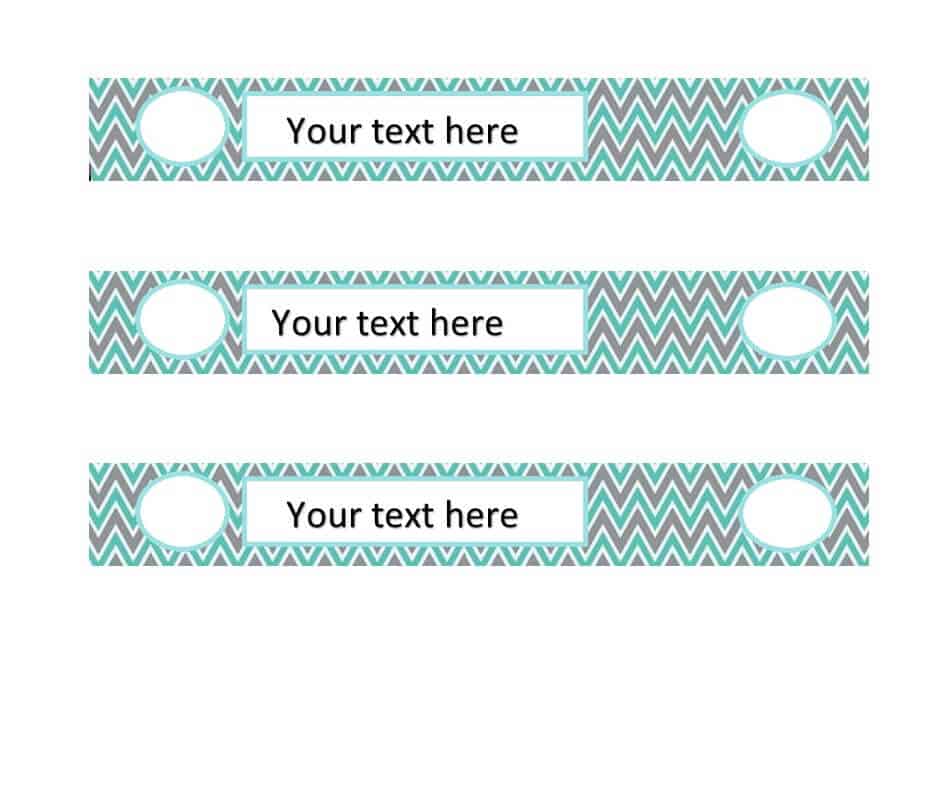
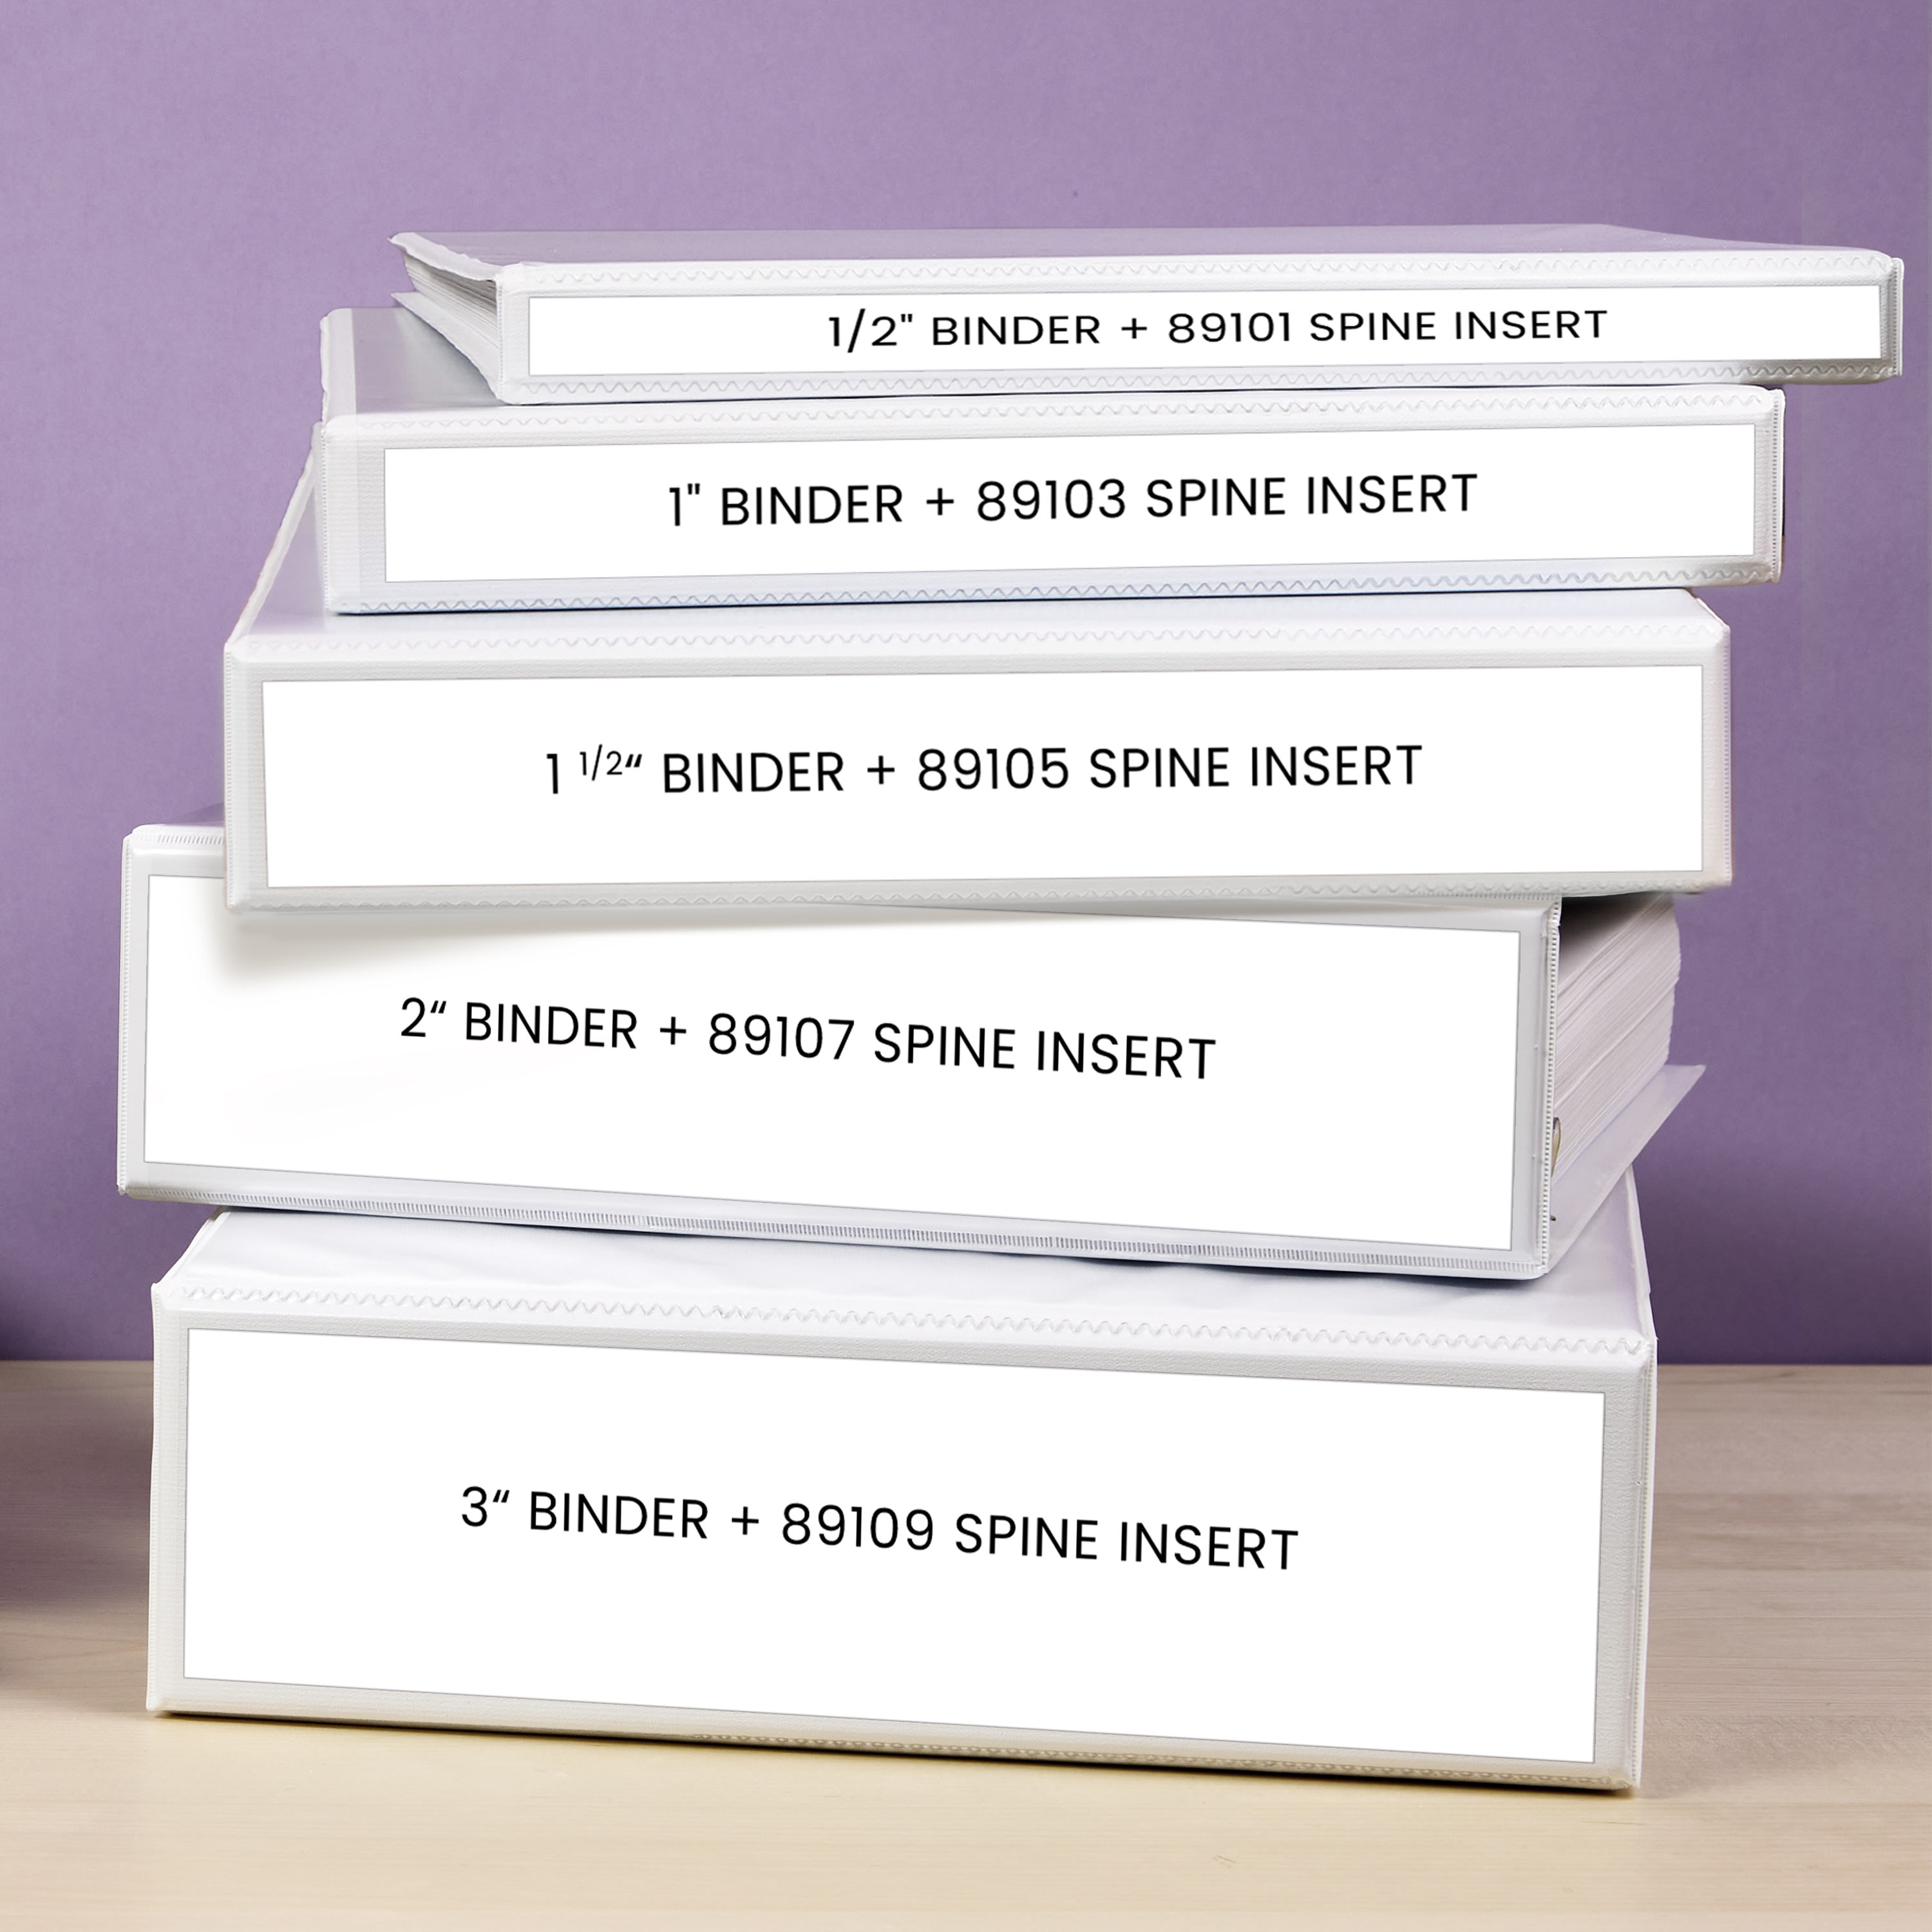
Perhaps the most common and critical type, spine label templates are designed to fit the spine of a binder. These are essential because they provide immediate identification of a binder's contents when it's stored upright on a shelf. They come in various widths to accommodate standard binder sizes, such as 1-inch, 1.5-inch, 2-inch, 3-inch, and even larger 4-inch or 5-inch binders.

- 1-Inch Binder Label Template: Ideal for thinner binders holding fewer documents, such as monthly reports or specific project segments.
- 2-Inch Binder Label Template: A popular choice for general-purpose filing, suitable for larger project files, annual reports, or course materials.
- 3-Inch Binder Label Template: Offers ample space for more detailed descriptions or larger font sizes, perfect for extensive collections like client portfolios or comprehensive research data.
- Custom Width Templates: Many templates are customizable, allowing you to adjust the width and height to fit non-standard binders or create unique designs.
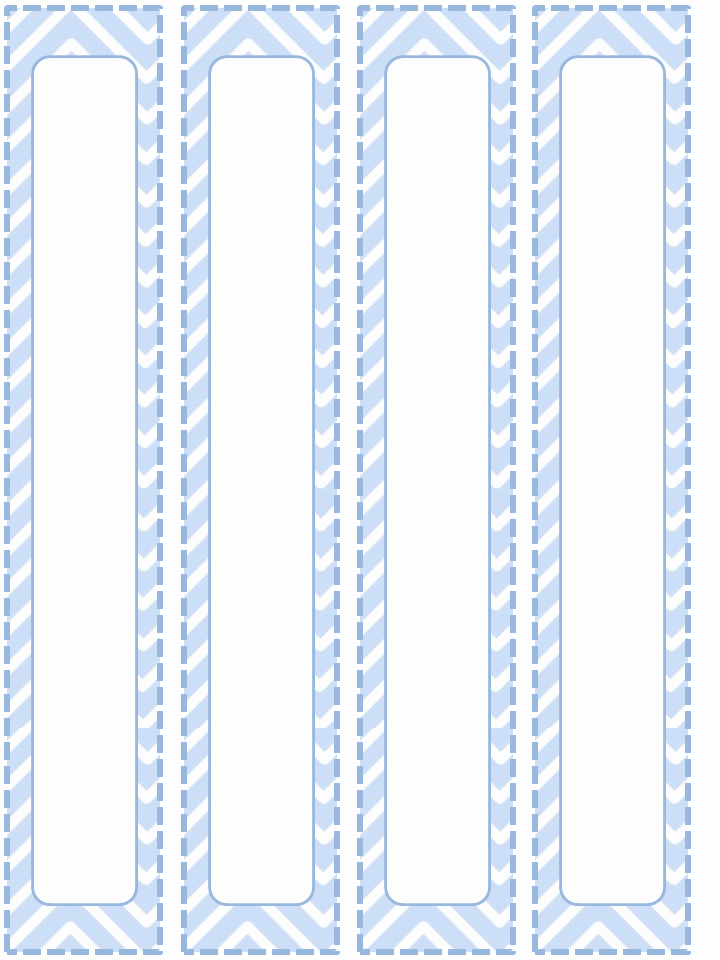
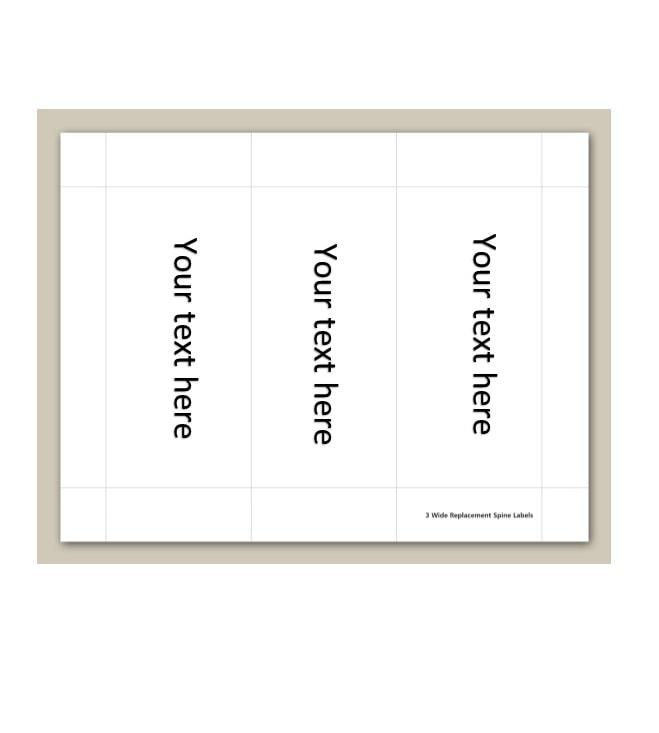
These templates often feature vertical or horizontal text orientation options, allowing for optimal use of space and readability. They are frequently available in document formats like Microsoft Word, Google Docs, or PDF, making them easy to download, edit, and print.
Front/Cover Label Templates
While spine labels offer quick identification from a distance, front/cover label templates provide a more detailed overview of a binder's contents. These are typically used for binders that are frequently accessed or where a comprehensive summary on the cover is beneficial. They can include a title, a brief description, a logo, or even a table of contents, offering a professional and organized presentation.
These templates are often full-page or half-page designs, allowing for significant customization. They are particularly useful for presentations, client proposals, or academic portfolios where a strong first impression is important. Many software programs offer pre-designed templates that can be easily adapted.

Tab Divider Label Templates
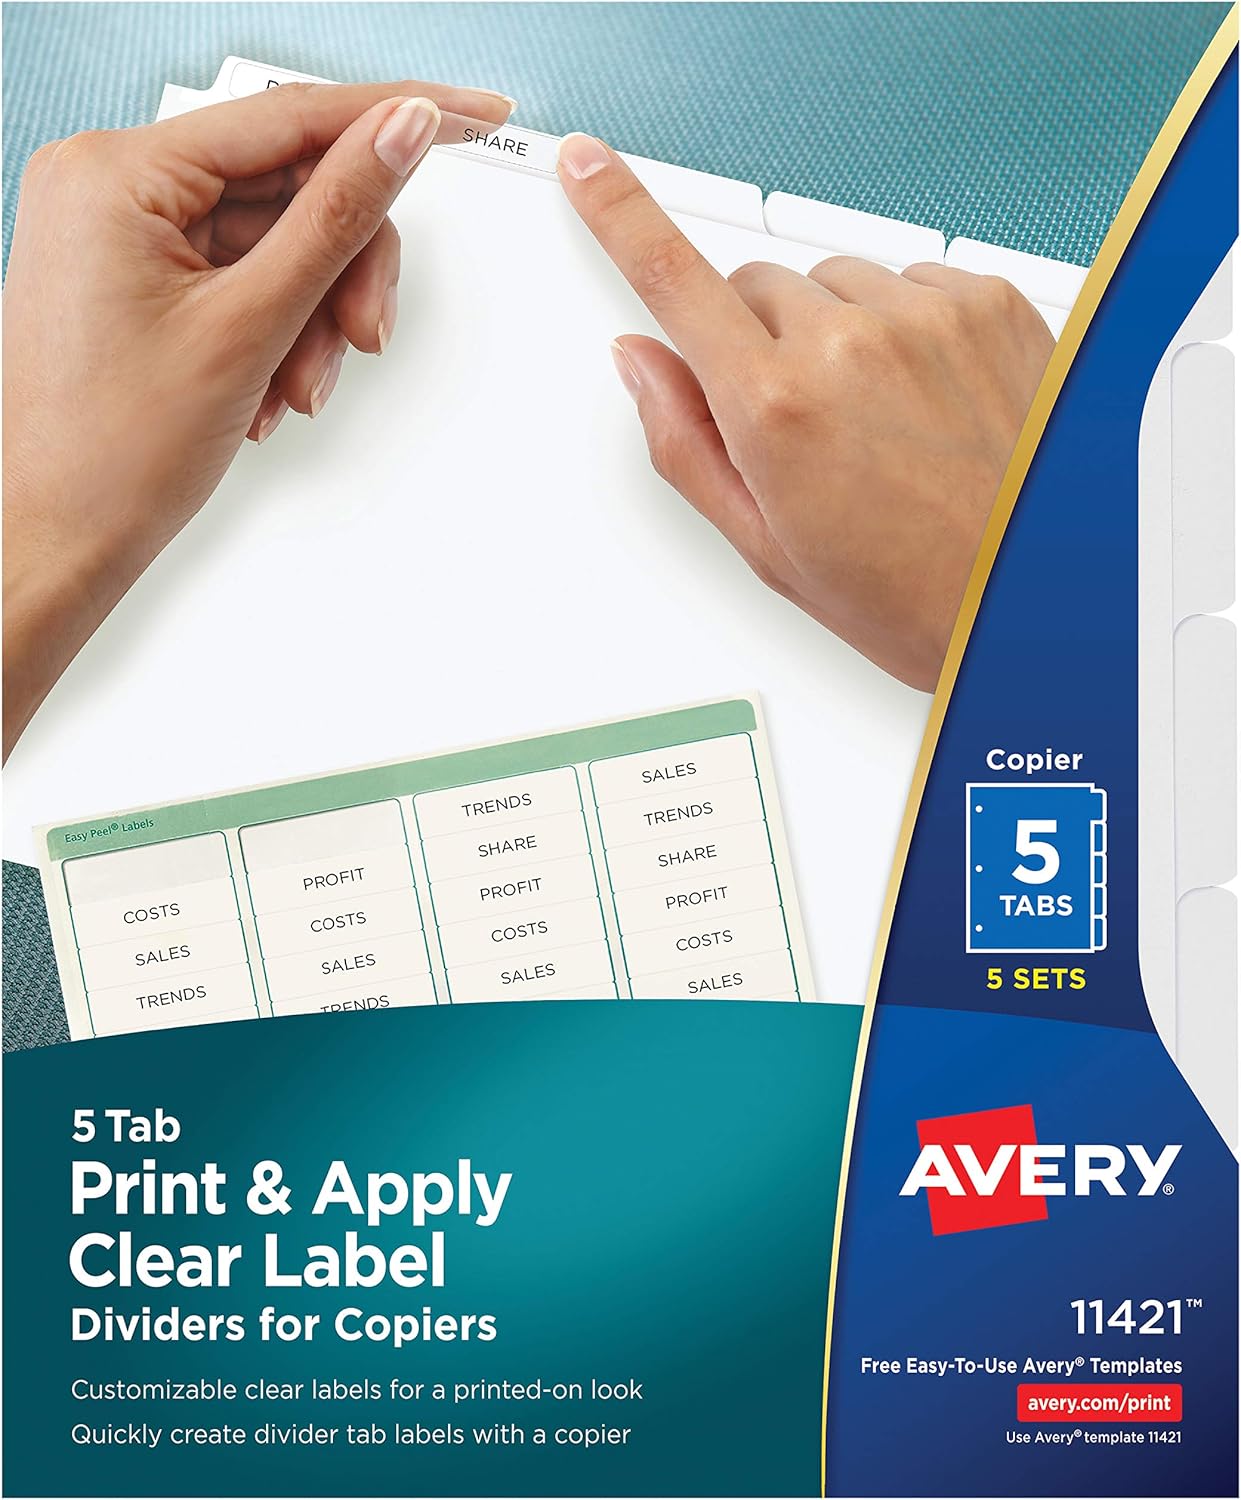
To enhance organization within a binder, tab divider label templates are invaluable. These templates are designed to print labels that adhere to or are inserted into the tabs of divider sheets. They help break down the binder's contents into logical sections, making it effortless to navigate to specific categories or chapters.
Tab labels come in various configurations, from 5-tab to 10-tab sets, and can be printed on adhesive labels or cardstock for durability. Consistent formatting across these tabs, facilitated by a template, ensures a cohesive and user-friendly internal structure for your binder.

Where to Find and Access a Binder Label Template
The accessibility of binder label templates has made them incredibly popular, with numerous resources available both online and offline. Depending on your technical proficiency and specific needs, you can choose from a variety of platforms to find or create the perfect template.
Software-Specific Templates
Many popular software applications offer built-in or readily downloadable templates:

- Microsoft Word: A powerhouse for document creation, Word provides a vast library of label templates, including those specifically designed for binder spines and tabs. Users can simply search for "binder labels" or "spine labels" within Word's template gallery. These templates are highly editable, allowing for custom fonts, colors, and layout adjustments.
- Google Docs: Similar to Word, Google Docs offers a selection of free templates that can be easily modified and shared. Its cloud-based nature makes it convenient for collaborative projects.
- Microsoft Excel: While less intuitive for pure design, Excel can be surprisingly useful for creating structured labels, especially if you need to manage data lists that will populate your labels. It's excellent for generating multiple identical or sequentially numbered labels.
- Adobe Acrobat (PDF Templates): Many printable binder label template files are available as PDFs, which can be filled out and printed directly. While less customizable than Word templates, they ensure consistent formatting.
Dedicated Label Design Software and Websites
Several companies specialize in label production and offer proprietary software or online design tools:

- Avery Design & Print: Avery is a leading manufacturer of labels, and their free online design tool is incredibly user-friendly. It allows you to select your specific Avery label product (e.g., spine labels, tab labels) and then design, customize, and print your labels directly from their website. It includes a wide range of pre-designed templates and clip art.
- Online Template Marketplaces: Websites like Etsy, Creative Market, and even Pinterest are rich sources for unique and professionally designed binder label templates. Many designers sell aesthetically pleasing and highly functional templates that can be downloaded and edited in various software programs.
- General Template Websites: Sites like Template.net, Vertex42, and many others offer free or premium templates for a variety of purposes, including binder labels. A quick search for "free binder label template" often yields numerous results.
Graphic Design Tools
For those with a creative flair and a desire for truly unique designs, graphic design software can be utilized:
- Canva: An incredibly popular online graphic design tool, Canva offers an intuitive drag-and-drop interface with a wealth of templates, fonts, and graphic elements. You can easily create custom binder labels from scratch or adapt existing designs.
- Adobe Illustrator/InDesign: For professional designers, these tools offer unparalleled control over design, typography, and layout. They are ideal for creating highly branded or complex label designs.
Designing and Customizing Your Binder Label Template
Once you've chosen your desired binder label template, the next step is to customize it to perfectly suit your needs. Effective customization ensures clarity, consistency, and a professional appearance.

Essential Elements of a Great Binder Label
- Clear, Concise Title: The primary information should be immediately apparent. Use a font that is legible even from a distance.
- Category/Sub-category: If applicable, include secondary information to further refine the binder's contents (e.g., "Client Files - 2023 Q1").
- Dates/Time Periods: For chronological filing, include date ranges (e.g., "Financial Records - Jan-Dec 2022").
- Color-Coding: Assigning specific colors to different categories (e.g., red for urgent, blue for finance, green for projects) can create an intuitive visual system.
- Branding/Logos: For business or professional use, incorporating a company logo or specific brand colors reinforces professionalism.
- Contact Information: For binders that might leave your immediate possession, a small contact detail can be useful.
Customization Tips and Techniques
- Font Choice: Select fonts that are easy to read. Sans-serif fonts like Arial, Helvetica, or Calibri are generally excellent for labels due to their clean lines. Varying font sizes and bolding can create a visual hierarchy.
- Color Scheme: Use colors strategically. They can denote categories, urgency, or simply make your binders more appealing. Ensure good contrast between the text and background color for readability.
- Graphics and Icons: Small, relevant icons can provide a quick visual cue, especially for non-text-heavy labels (e.g., a dollar sign for finances, a graduation cap for school).
- Layout and Alignment: Ensure text is consistently aligned (left, center, or right) across all your labels. Maintain adequate margins to prevent text from being cut off during printing or when the label is applied.
- Test Prints: Always perform a test print on plain paper before using your expensive label stock. This allows you to check for alignment issues, font sizes, and color accuracy. Adjust as needed.
- Utilize Mail Merge (for multiple labels): If you have a list of binder titles in an Excel spreadsheet, use the mail merge feature in Word to generate numerous labels efficiently, populating a binder label template with unique data for each.
Step-by-Step Guide to Creating and Printing Your Binder Label Template
Creating professional binder labels is a straightforward process once you have your template. Follow these steps for best results:

- Choose Your Template: Select a binder label template that matches your binder size and preferred format (e.g., 2-inch spine, Word document).
- Open in Appropriate Software: Launch the template in its native software (e.g., Microsoft Word, Google Docs, Avery Design & Print).
- Input Your Information: Type in the titles, categories, dates, or any other details you want on your labels. Be concise and clear.
- Customize Design (Optional):
- Adjust fonts, sizes, and colors for readability and aesthetic appeal.
- Add icons or logos if desired.
- Ensure all text is correctly aligned within the label boundaries.
- Review and Proofread: Carefully check all text for typos, grammatical errors, and factual inaccuracies. A simple mistake can lead to misfiling.
- Prepare for Printing:
- Select Label Stock: Purchase adhesive label sheets specifically designed for your printer (inkjet or laser) and the dimensions of your labels. Avery products are widely available and often directly compatible with template software.
- Printer Settings: In your printer's settings, ensure you select the correct paper type (e.g., "Labels," "Heavyweight Paper") and the correct paper size (e.g., "Letter" or "A4"). Crucially, double-check that the "Actual Size" or "100% Scale" option is selected to prevent labels from being misaligned. Avoid "Fit to Page" options.
- Print a Test Page: Print your labels on a plain sheet of paper first. Hold the test print against an actual label sheet to check for perfect alignment. Make any necessary adjustments in the template or printer settings.
- Final Print: Once satisfied with the test print, load your actual label sheets into the printer's manual feed tray (if available) or standard tray according to your printer's instructions. Print your labels.
- Apply Labels: Carefully peel and apply the printed labels to your binders. Take your time to ensure they are straight and smooth for a polished finish.
Best Practices for Effective Binder Organization with Binder Label Templates
Maximizing the effectiveness of your binder organization system goes beyond just printing labels; it involves strategic planning and consistent application.
- Consistency is Key: Use the same binder label template format, font, and color scheme across related binders. This creates a visually cohesive and easy-to-understand system. Inconsistency leads to confusion.
- Logical Categorization: Before you start labeling, plan out your categories. Group related documents together under broad categories, then subdivide them if necessary. For instance, "Client Files" might be a broad category, with individual binders for "Client A - 2023," "Client B - 2023," etc.
- Color-Coding System: Implement a color-coding system for different departments, projects, years, or types of documents. For example, all financial binders could have blue labels, while marketing binders have green. This provides an instant visual cue.
- Review and Update Regularly: Filing systems are not static. Periodically review your binders and their labels. As projects end or information becomes outdated, consider archiving or updating your labels. This keeps your system current and prevents clutter.
- Standardize Naming Conventions: Decide on a standard naming convention for your labels (e.g., "Project Name - Year - Type" or "Department - Month/Year"). This eliminates ambiguity and ensures everyone understands the system.
- Backup Your Templates: Keep digital copies of your customized binder label templates saved in a secure location. This makes it easy to create new labels that match your existing system whenever needed.
Versatile Applications of Binder Label Templates
The utility of a binder label template extends far beyond simple document storage, proving its value in a multitude of environments.
At Home
- Household Bills & Finances: Create binders for monthly bills, bank statements, tax documents, insurance policies, and investment records. Labels like "Utilities 2023," "Tax Docs 2022," or "Medical Records" make financial management a breeze.
- Recipes & Meal Planning: Organize recipes by cuisine, meal type (breakfast, dinner), or dietary restrictions. A binder label template ensures your culinary library is neat and accessible.
- Kids' Schoolwork & Art: Keep track of important school notices, report cards, and cherished artwork. Label binders by grade level or subject.
- Craft Supplies: For hobbyists, binders can organize patterns, fabric swatches, yarn labels, or project instructions. Labels help categorize materials efficiently.
- Home Improvement & Manuals: Store appliance manuals, paint swatches, warranties, and home repair notes in clearly labeled binders.
In the Office
- Client Files: Essential for law firms, accounting practices, and consulting agencies. Labels can include client name, case number, or project name.
- Project Management: Create separate binders for each project, sub-project, or phase, with labels detailing the project title, dates, and team members.
- HR & Employee Records: Maintain confidential employee files, training materials, and policy documents with discrete and professional labels.
- Sales & Marketing Materials: Organize brochures, presentations, competitor analysis, and sales reports.
- Archiving: When moving older documents to archive storage, consistent labels ensure that even years down the line, information can be quickly located.
For Education
- Student Notes: Students can organize notes by subject, semester, or topic, making study and revision more efficient.
- Teacher Resources: Educators can categorize lesson plans, grading rubrics, student portfolios, and curriculum materials.
- Research Papers: Academics can use labels to manage research data, articles, bibliographies, and drafts for different projects.
Conclusion
The humble binder label template is a powerful instrument in the quest for superior organization. It transforms chaotic piles of paper into a meticulously structured, easily navigable, and visually appealing system. From saving precious time and enhancing information retrieval to fostering professionalism and reducing stress, the benefits are manifold. By understanding the types of templates available, mastering customization techniques, and applying best practices, anyone can harness the full potential of these essential tools. Investing a little effort in creating clear, consistent, and well-designed binder labels will undoubtedly pay dividends in increased efficiency, productivity, and peace of mind across all facets of your life.
0 Response to "Binder Label Template"
Posting Komentar