Creating professional marketing materials can often feel like a daunting task, especially for small businesses or individuals without a dedicated design team. When you need a compact, effective, and affordable handout, the DL-sized flyer is a popular choice. For many, the search for the perfect Dl Flyer Template Word is the first step towards creating a professional-looking handout without the steep learning curve of specialized graphic design software. This convenient format, combined with the universal accessibility of Microsoft Word, offers a powerful solution for producing high-quality promotional materials right from your desktop.
The appeal of using Microsoft Word for design projects lies in its familiarity. Almost everyone has used it, making the process of editing text, inserting images, and adjusting layouts far less intimidating than starting from scratch in a program like Adobe InDesign or Illustrator. A well-designed template provides the structural foundation—the correct dimensions, placeholder elements, and a balanced layout—allowing you to focus on the most important part: your message. By leveraging a template, you can save significant time and money while still achieving a polished and impactful result.
This comprehensive guide will walk you through everything you need to know about using DL flyer templates in Microsoft Word. We will explore what a DL flyer is and why it's so effective. We'll cover where to find the best free and premium templates, provide a step-by-step tutorial on customizing them to fit your brand, and share essential design principles to ensure your final product is visually appealing. Finally, we'll discuss the critical steps for preparing your file for professional printing, so your digital creation looks just as good on paper.

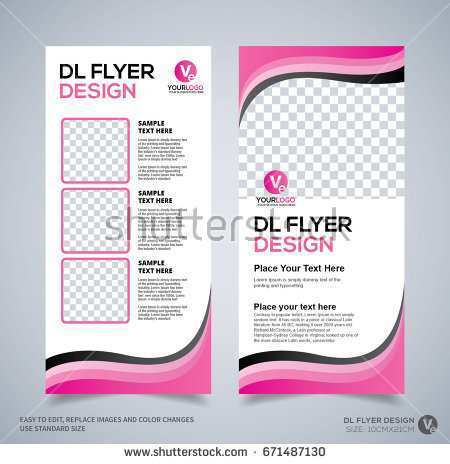
What Exactly is a DL Flyer?
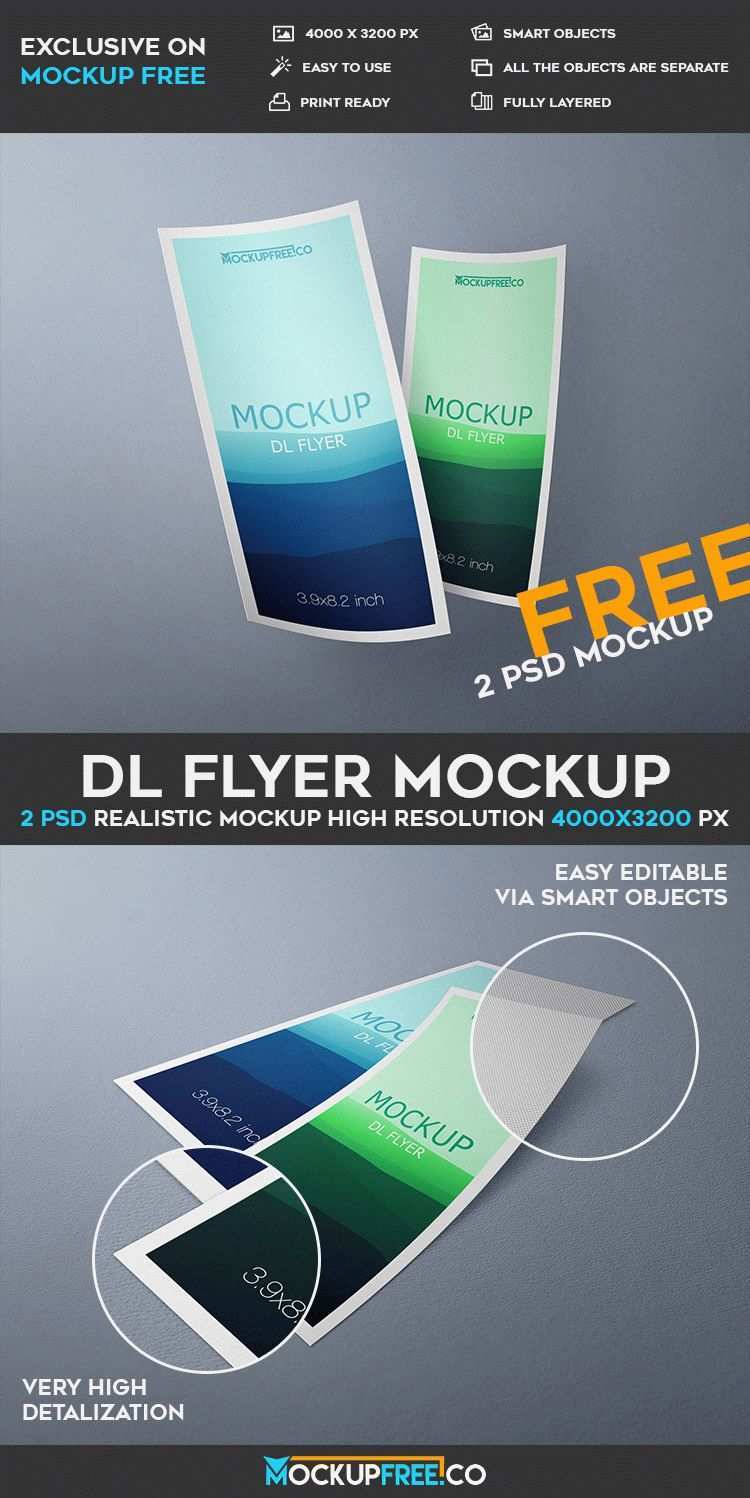
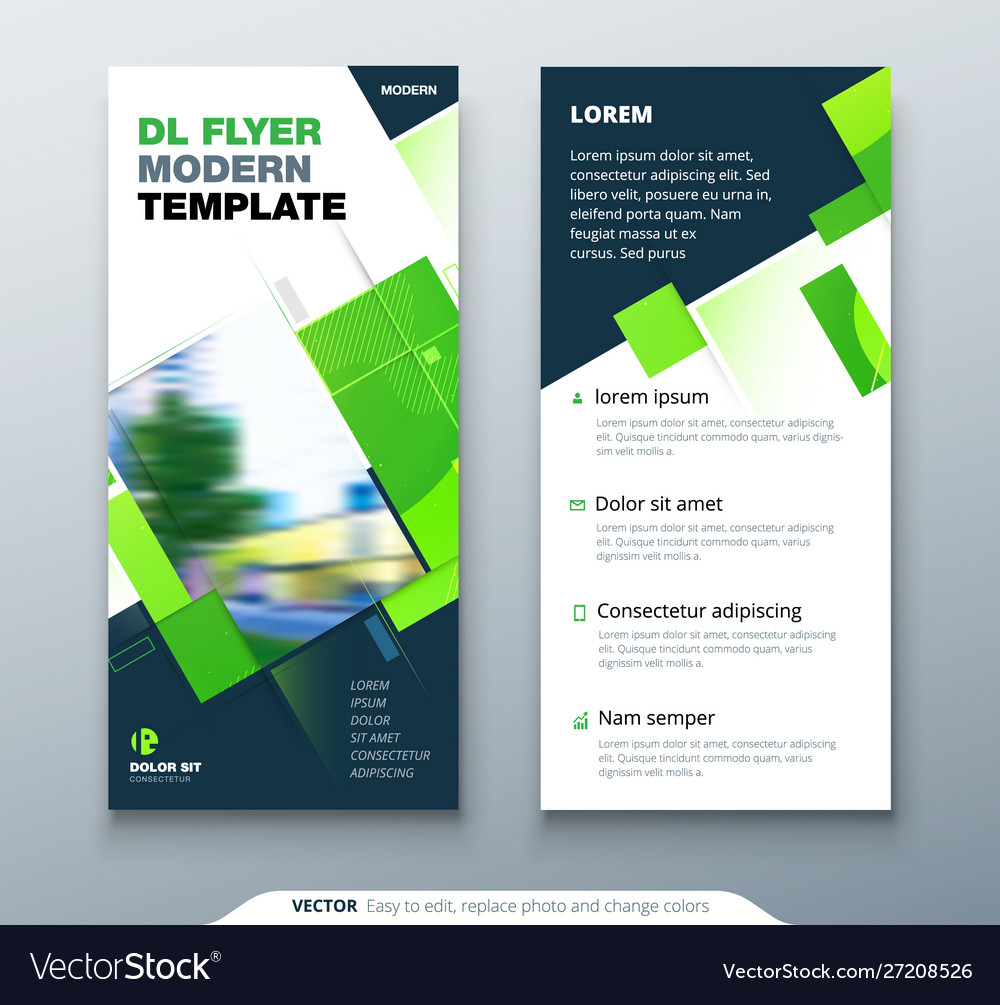
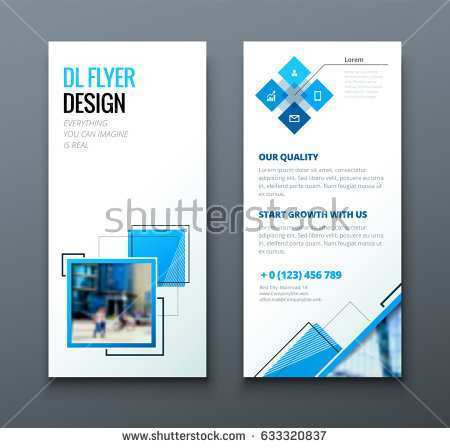
Before diving into templates and design, it's important to understand the specific format you're working with. The "DL" in DL flyer stands for "Dimension Lengthwise." It is a standardized paper size, measuring 99mm x 210mm (approximately 3.9 x 8.27 inches).
Perhaps the easiest way to visualize a DL-sized sheet is to think of an A4 piece of paper (the standard letter size in most of the world) folded into three equal sections. Each of those sections is one DL panel. This inherent relationship to the A4 standard is a key reason for its popularity and efficiency in printing.
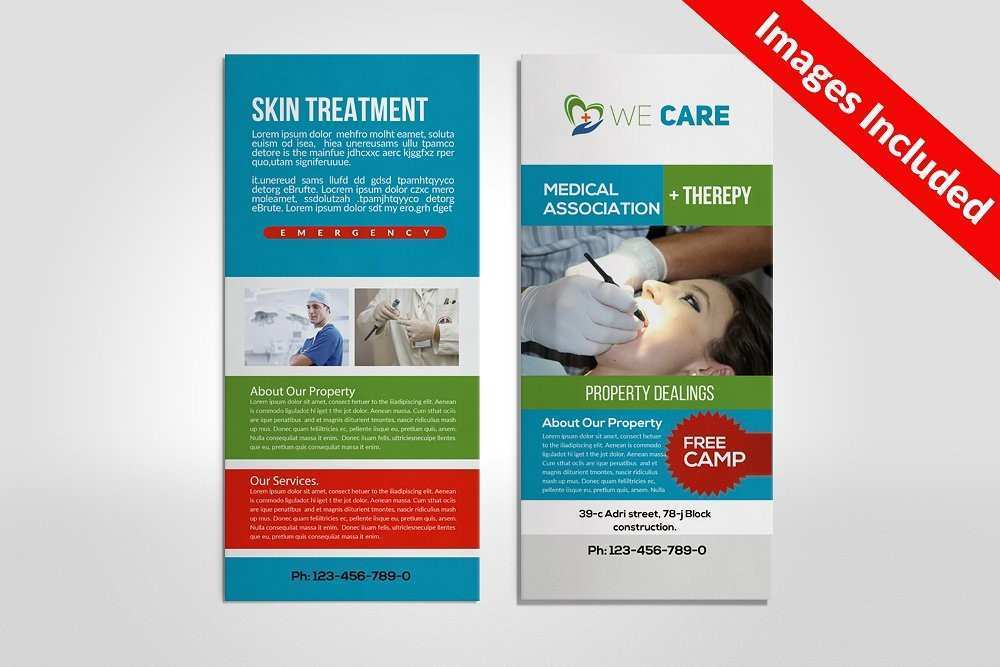
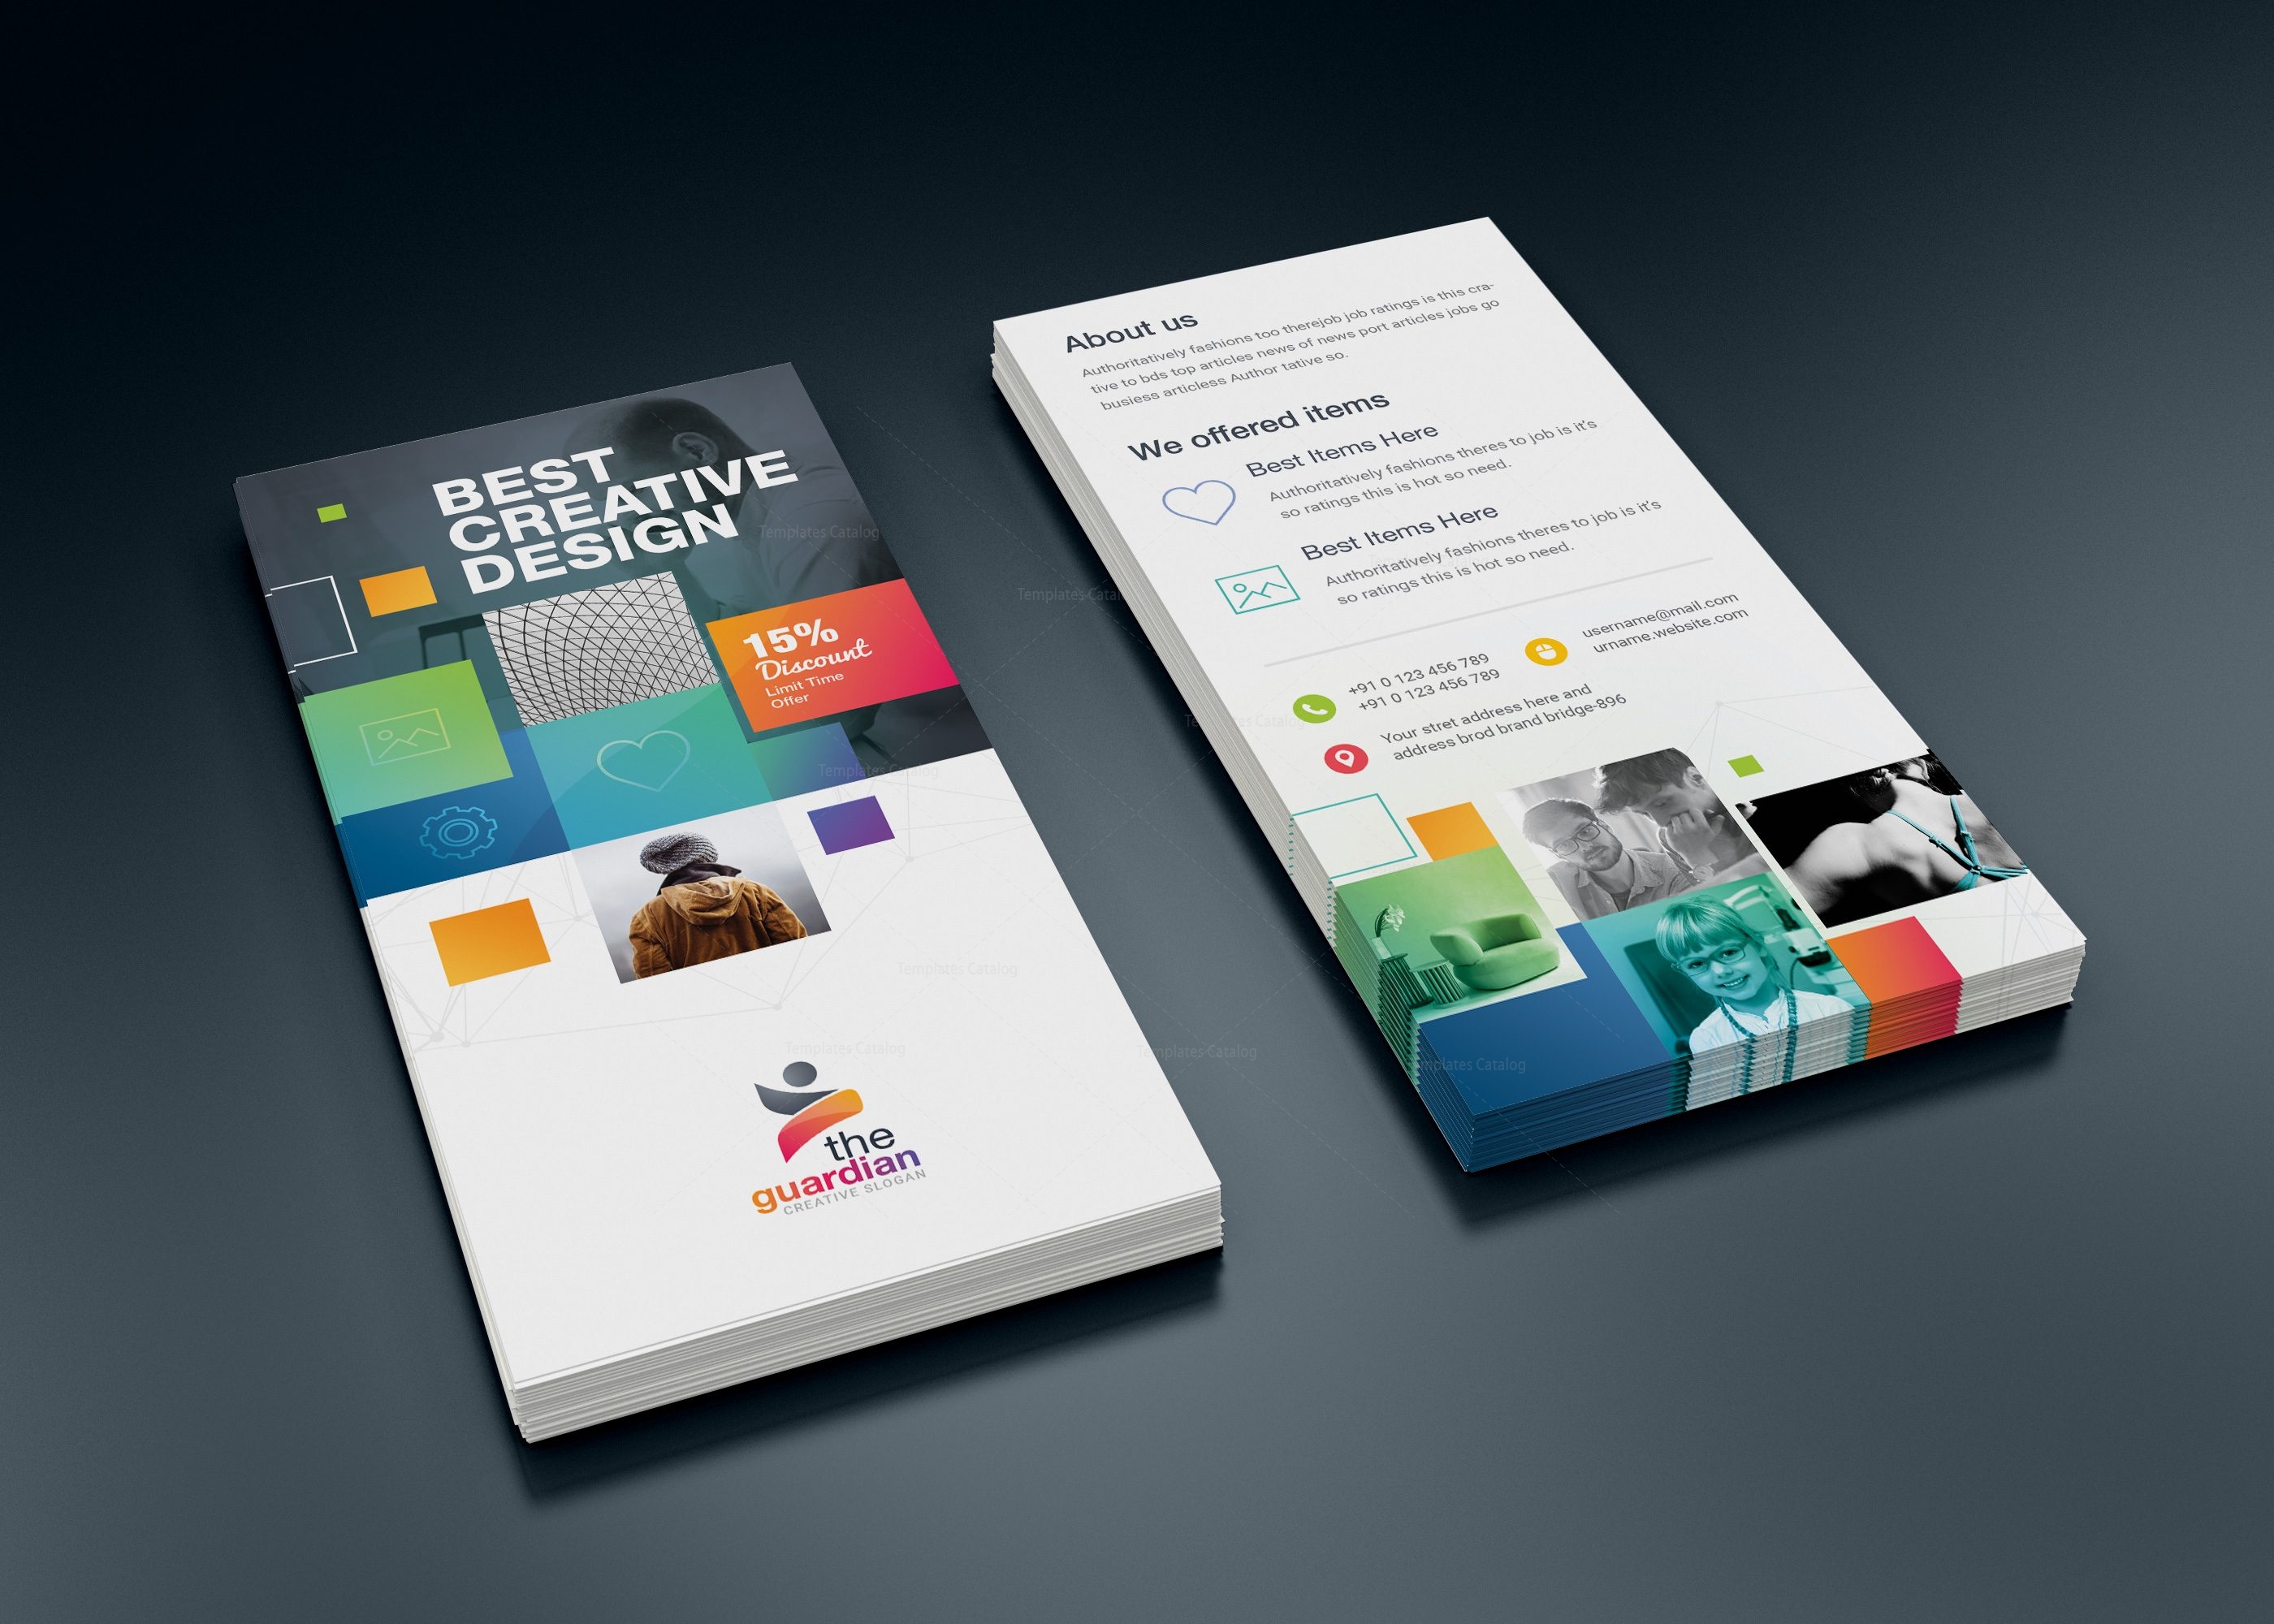
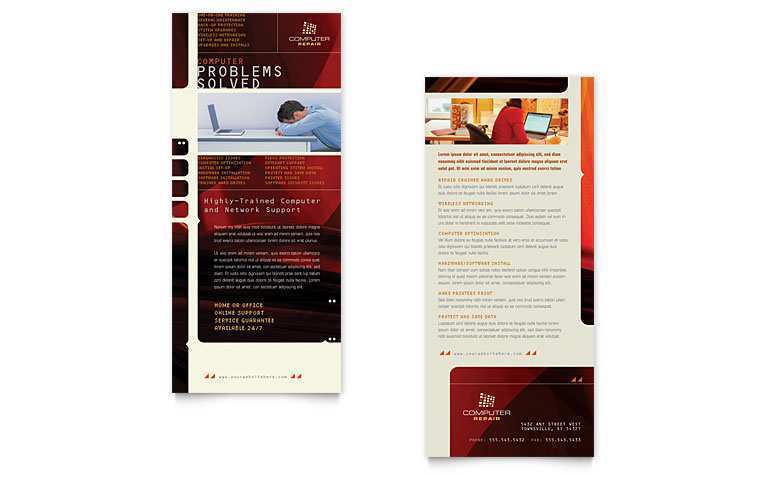
Common Uses for DL Flyers
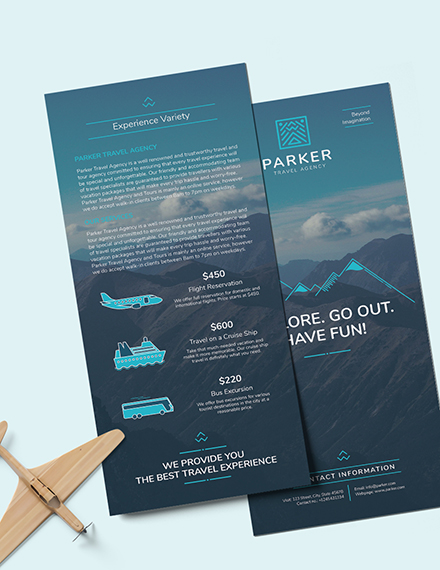
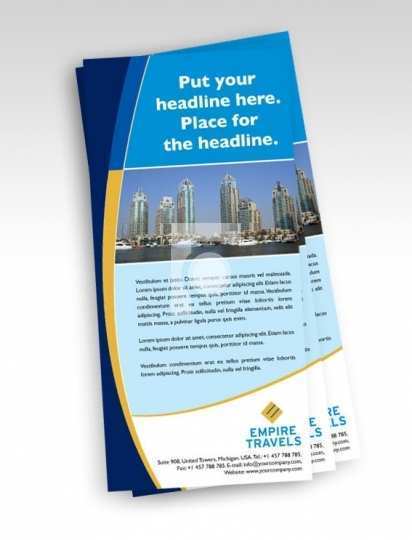
The slender, elegant profile of the DL flyer makes it incredibly versatile. It feels more substantial and unique than a standard rectangular A6 postcard and is less cumbersome than a full A4 or A5 sheet. Some of the most common applications include:
- Rack Cards: Its tall and narrow shape is perfect for displaying in leaflet holders found in hotel lobbies, tourist information centers, and reception areas.
- Direct Mail Campaigns: DL flyers fit perfectly into standard DL-sized envelopes without any additional folding, making them ideal for mail-outs.
- Event Promotions: They are easy to hand out and for recipients to slip into a pocket or purse, making them great for promoting concerts, sales, or grand openings.
- Restaurant Menus: This format works wonderfully for drink lists, dessert menus, or special promotional menus placed on tables.
- Price Lists: Service-based businesses like salons, spas, and mechanics can use them to clearly list their offerings and prices.
- Informational Leaflets: They can serve as concise informational handouts at trade shows or in-store displays.
The unique dimensions provide a vertical canvas that encourages a clean, scannable layout, guiding the reader's eye from top to bottom.
Why Use Microsoft Word for Your DL Flyer Design?
While professional graphic designers almost exclusively use software from the Adobe Creative Suite, Microsoft Word remains a surprisingly capable and practical tool for many design tasks, especially when starting with a template. Here's why it's an excellent choice for creating your DL flyers.

Unmatched Accessibility
The single biggest advantage of using MS Word is its ubiquity. It comes pre-installed on countless computers and is a staple of the Microsoft 365 subscription. This means you likely already have access to the software without any additional cost. There is no need to purchase an expensive subscription to a design program you might only use occasionally.
Gentle Learning Curve
Most people have a basic to intermediate understanding of how to use Word. You already know how to type and format text, insert images, and create shapes. Customizing a Dl Flyer Template Word involves applying these existing skills in a slightly more creative way. This drastically reduces the time and frustration associated with learning a complex new piece of software from scratch.
Surprising Level of Customization
While it may not have the intricate vector manipulation or advanced layering capabilities of Illustrator, modern versions of Word offer a robust set of tools. You can easily:
- Change font styles, sizes, and colors.
- Insert and edit text boxes for precise text placement.
- Insert your logo and other brand graphics.
- Crop, resize, and apply basic filters to images.
- Create custom color palettes to match your branding.
- Add shapes, lines, and other graphic elements to enhance your design.
For the vast majority of flyer design needs, these features are more than sufficient to transform a generic template into a unique marketing asset.
Seamless Collaboration and Editing
Because Word is so widely used, it's easy to share your draft flyer with colleagues for feedback. They can open the file, use the "Track Changes" feature to suggest edits, and leave comments directly in the document, streamlining the review process.
Finding the Best Dl Flyer Template Word Options
The key to a great Word-designed flyer is a great template. A well-constructed template handles the difficult parts—like setting the correct dimensions and margins—so you can focus on the content. Here are the best places to look for templates.
Inside Microsoft Word Itself
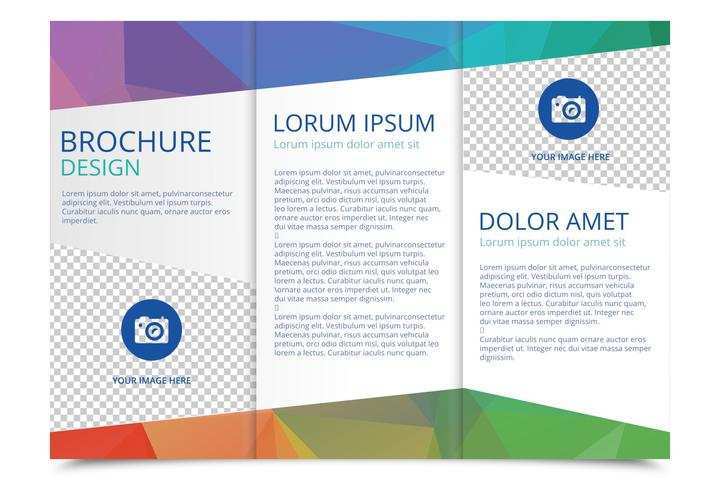
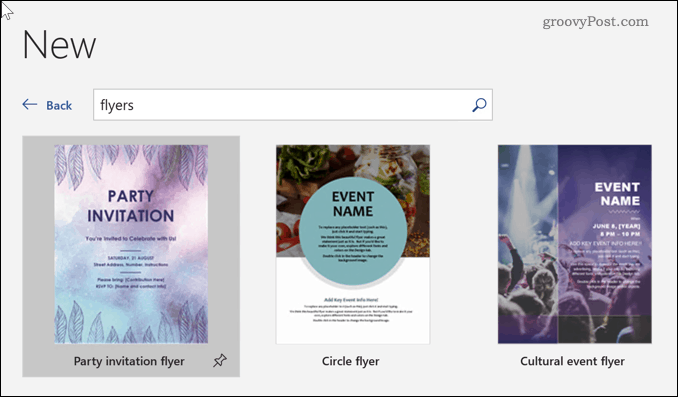
Your first stop should be within the Word application. You can access a library of templates by going to File > New. In the search bar, try terms like "flyer," "brochure," or "rack card." While you may not find many templates specifically labeled "DL," you can often find brochure templates that are already set up in three columns on an A4 page, which you can adapt. You can also find single-panel designs that can be resized to the correct DL dimensions.
Third-Party Template Websites (Free)
Many websites offer free Word templates for various uses. Sites like Template.net, SmileTemplates, and other free resource hubs often have dedicated categories for flyers. When downloading free files from the internet, always be cautious. Stick to reputable websites to avoid downloading malware, and be aware that the design quality can vary significantly.
Premium Template Marketplaces
For a small investment, you can get a professionally designed, high-quality template from a creative marketplace. This is often the best option for achieving a truly polished look.
- Envato Elements: A subscription service offering unlimited downloads of millions of creative assets, including thousands of Word templates.
- Creative Market: A marketplace where individual designers sell their creations. You can find unique and stylish DL flyer templates here.
- Etsy: While known for handmade goods, Etsy is also a massive marketplace for digital downloads, including professionally designed Word templates for business marketing.
The advantage of premium templates is that they often come with better documentation, customer support from the designer, and are built with best design practices in mind.
Step-by-Step Guide: Customizing Your DL Flyer Template in Word
Once you've chosen your template, it's time to make it your own. The process is straightforward and follows a few logical steps.
Step 1: Open the Template and Set Up Your Workspace
First, open the template file in Microsoft Word. If it's a .dotx file, Word will automatically create a new, untitled document based on the template, leaving your original template file untouched. Take a moment to familiarize yourself with the layout. Notice the placeholder text boxes and image frames. It's also a good idea to immediately go to File > Save As and save your new flyer with a unique name.
Step 2: Replace and Format the Text
This is the core of the customization process.
- Headlines: Click on the main headline placeholder and type your own attention-grabbing headline. Use the Home tab to change the font, size, and color to match your brand.
- Body Text: Go through each text box and replace the "lorem ipsum" or other placeholder text with your own content. Keep your sentences short and to the point. Use bullet points to make information easy to scan.
- Contact Information: Double-check that you have correctly entered your website, phone number, address, and social media handles. This is the most critical information on the flyer.
Step 3: Insert Your Images and Logo
Visuals are essential for an effective flyer.
- Replacing Images: Right-click on a placeholder image and look for an option like "Change Picture" or "Fill." This allows you to insert your own image while maintaining the size and position of the original frame.
- Inserting a Logo: Delete any placeholder logo and go to the Insert tab, click Pictures, and select your logo file. It's best to use a high-resolution PNG file with a transparent background.
- Image Quality: Ensure all your images are high-resolution. A good rule of thumb is 300 DPI (Dots Per Inch) for print. Images saved from websites are often low-resolution (72 DPI) and will appear blurry or pixelated when printed.
Step 4: Adjust the Color Scheme
To make the flyer truly yours, update the colors to match your brand identity.
- Select a shape, text box, or text element.
- Go to the Format or Home tab.
- Use the Shape Fill, Shape Outline, or Font Color tools.
- Click "More Colors" to enter a specific RGB or HEX code for your brand colors, ensuring perfect consistency.
Design Best Practices for an Effective DL Flyer
A good template is a great start, but following some basic design principles will elevate your flyer from good to great.
Embrace White Space
The narrow DL format can feel cramped if you try to pack in too much information. White space (or negative space) is the empty area around your text and images. It gives your design room to breathe, improves readability, and makes the overall flyer look more professional and less cluttered.
Create a Visual Hierarchy
Guide your reader's eye through the flyer. Your most important element, usually the headline, should be the largest and boldest. Subheadings should be smaller, and body text smaller still. This hierarchy tells the reader what to look at first, second, and third.
Focus on a Single, Clear Call-to-Action (CTA)
What is the one thing you want the person holding your flyer to do? Don't confuse them with multiple requests. Make your CTA stand out. Whether it's "Visit Our Website," "Call Now for a Free Quote," or "Scan to See Our Menu," it should be clear, concise, and compelling. Using a button-like shape or a contrasting color can help draw attention to it.
Proofread, Proofread, Proofread
A single typo can undermine the credibility of your entire message. Read through every word on your flyer carefully. Then, ask someone else to read it. It's amazing what a fresh pair of eyes can catch. Pay special attention to phone numbers, dates, web addresses, and spelling of names.
Preparing Your Word DL Flyer for Professional Printing
Once your design is complete, the final and most crucial step is preparing it for the printer. Simply sending the .docx file can lead to formatting issues. The standard professional format is a print-ready PDF.
Understanding Bleed and Margins
- Bleed: If your design has colors or images that extend to the very edge of the page, you need to add a "bleed." This is an extra margin (usually 3mm or 1/8 inch) of your design that extends beyond the final trim line. It ensures that when the flyers are cut to size, there are no unprinted white slivers at the edge. Your printing service will provide specifications for this. You can set this up by making your page size slightly larger (e.g., 105mm x 216mm for a 99x210mm flyer with 3mm bleed).
- Safe Zone: Conversely, keep all your critical text and logos well inside the final trim line (usually within a 3-5mm margin) to ensure nothing gets accidentally cut off.
Exporting as a High-Quality PDF
This is the most important step. Do not just "Print to PDF." Use Word's dedicated export function for the best results.
- Go to File > Save As or File > Export.
- Choose PDF as the file type.
- Under "Optimize for," select "Best for printing" or "High Quality." This option ensures that your images are not compressed and that the file retains all the necessary data for a crisp print.
- Check the PDF options to ensure fonts are embedded.
- Save the file.
Open the final PDF to review it one last time. What you see in this PDF is exactly what the printer will see. Check for any formatting shifts, missing images, or font problems before sending it off.
Conclusion
The DL flyer is a powerful and cost-effective marketing tool, and you don't need to be a professional graphic designer to create one. By leveraging the accessibility and familiarity of Microsoft Word, you can produce stunning, professional-quality flyers for your business or event. The key to success lies in starting with a high-quality Dl Flyer Template Word. This provides a solid foundation, allowing you to focus on crafting a compelling message and customizing the design to reflect your unique brand.
Remember to follow design best practices: prioritize clarity, use high-resolution images, and maintain a clean layout with a clear call-to-action. Most importantly, take the final step of exporting your finished design as a high-quality, print-ready PDF to ensure your hard work translates perfectly from screen to paper. With these tools and techniques, you are now fully equipped to design and produce impactful DL flyers that get noticed and drive results.
0 Response to "Dl Flyer Template Word"
Posting Komentar